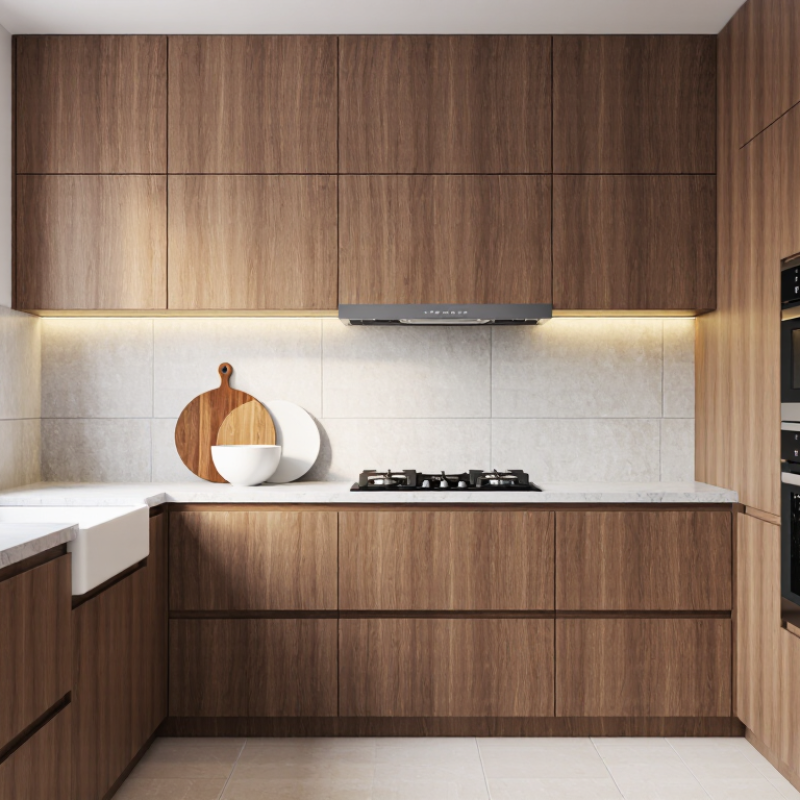
| Common Cabinet Widths | 9–48 in (23–122 cm), commonly increasing in 3 in (7.6 cm) increments | Use narrow units for fillers or small storage zones and wider units for everyday dishes or adjustable shelving. | Measure the actual wall, corner conditions, fillers, and appliance clearances before selecting widths. |
| Common Cabinet Heights | 12, 15, 18, 24, 30, 36, and 42 in (30–107 cm) | Choose shorter cabinets above windows or open shelves and taller units when maximizing vertical storage. | A 42 in cabinet can reach closer to the ceiling, but the ceiling height and crown molding detail must be checked first. |
| Standard Wall-Cabinet Depth | About 12 in (30 cm) for most wall cabinets | Suitable for plates, glasses, mugs, packaged food, and lightweight kitchen accessories. | Deeper cabinets can increase capacity but may reduce head clearance and countertop visibility; verify door swing and work-zone comfort. |
| Cabinets Above Refrigerators | Often about 24 in (61 cm) deep, depending on the refrigerator and enclosure design | Provides a visually integrated storage area for infrequently used items. | Confirm the refrigerator manufacturer’s required ventilation, hinge clearance, and installation dimensions before ordering. |
| Countertop-to-Cabinet Clearance | Commonly about 18 in (46 cm) between the countertop and the bottom of wall cabinets | Balances usable prep space with convenient access to stored items. | Follow local building requirements and appliance instructions; range hoods and cooktops may require greater clearances. |
| Ceiling Planning | Leave enough space for installation tolerances, crown molding, ventilation, and uneven ceilings | Use stacked cabinets or a soffit-style enclosure when a full-height appearance is desired. | Measure ceiling height at several points because floors and ceilings are not always level. |
| Corner Cabinet Strategy | Use a blind-corner, diagonal-corner, or corner-access solution according to the available footprint | Improves access in L-shaped and U-shaped kitchens. | Prioritize clear door and drawer openings; a poorly planned corner can create unusable “dead” storage. |
| Shelf Configuration | Prefer adjustable shelves with multiple height positions; full-depth shelves are typically around 10–11 in deep inside a 12 in cabinet | Adjust shelf spacing for tall bottles, stacks of plates, bowls, and small appliances. | Use shelf pins with positive locking features and follow the cabinet manufacturer’s stated load rating. |
| Shelf Material | Choose a rigid, moisture-resistant shelf with a finished front edge | Helps reduce sagging and protects stored items from unfinished edges. | Sealed engineered wood, plywood, or other approved cabinet-grade materials can be suitable when properly supported. |
| Door Style | Full-overlay, half-overlay, and inset are common construction styles | Full-overlay creates a streamlined contemporary appearance; inset emphasizes precise frame construction; half-overlay offers a traditional look. | Check hinge adjustment range, adjacent door clearances, and the amount of interior capacity available with each style. |
| Glass-Front Doors | Use selectively on display or frequently accessed cabinets | Suitable for glassware, serving pieces, cookbooks, or decorative objects. | Plan interior lighting and keep visible contents organized; tempered or safety glass is preferable where required by local standards. |
| Lift-Up Door Hardware | Use soft-close lift, bi-fold, or stay-open mechanisms where appropriate | Works well for appliance garages, wide wall cabinets, and areas where a side-swing door may obstruct movement. | Hardware must match the door size and weight; confirm installation and adjustment requirements. |
| Soft-Close Features | Use soft-close hinges and door or drawer mechanisms | Reduces slamming, noise, and impact on cabinet frames. | Look for adjustable hinges and replaceable hardware to support long-term maintenance. |
| Interior Lighting | Consider low-voltage LED strip or puck lighting with concealed wiring | Improves visibility in deep, tall, or glass-front cabinets. | Choose low-heat LEDs, plan access to drivers, and coordinate lighting with door operation and electrical requirements. |
| Plate Storage | Use adjustable shelves, plate racks, or vertical dividers | Keeps dinnerware stable and makes heavier items easier to retrieve. | Store heavier plates on lower shelves and verify that dividers are securely anchored. |
| Tray and Cutting-Board Storage | Use vertical dividers in a cabinet section wide enough for the largest item | Prevents trays, baking sheets, and boards from being stacked in unstable piles. | Position near the preparation area but away from plumbing leaks and high heat. |
| Spice Organization | Use a shallow adjustable shelf, tiered insert, or door-mounted rack | Keeps small containers visible and accessible. | Avoid placing spices directly beside high heat or in areas exposed to steam, which can reduce quality over time. |
| Small-Appliance Storage | Reserve a cabinet with sufficient internal height, depth, ventilation, and electrical access | Accommodates items such as mixers, blenders, or coffee equipment. | Do not operate heat-producing appliances inside a closed cabinet unless the product and cabinet design specifically allow it. |
| Weight Distribution | Place heavier items low and closer to cabinet sides or structural supports | Reduces strain on shelves, hinges, and mounting hardware. | Follow the installer’s and cabinet manufacturer’s load limits; wall cabinets must be securely fastened to suitable wall framing or approved blocking. |
| Moisture Resistance | Use sealed finishes, protected edges, and moisture-resistant cabinet materials | Helps protect cabinets near sinks, dishwashers, and coffee stations. | Repair leaks quickly and avoid leaving standing water on shelves or cabinet bottoms. |
| Sustainable Selection | Consider durable construction, repairable hardware, low-emitting finishes, and responsibly sourced materials | Supports longer service life and lower replacement frequency. | Ask for material specifications and emissions documentation rather than relying only on general environmental claims. |
| Accessibility Planning | Use reachable shelf heights, pull-down organizers, clear handles, and high-contrast interior finishes where needed | Improves usability for children, older adults, and people with limited reach or mobility. | Design around the primary user’s reach range instead of maximizing cabinet height in every area. |
| Final Measurement Check | Record wall lengths, ceiling height, plumb and level conditions, window locations, outlets, plumbing, appliances, and trim | Prevents ordering errors and installation conflicts. | Take measurements after major flooring and wall changes are confirmed, and verify all dimensions with the installer before fabrication. |